Making Kimchi: Not as intimidating as it sounds
I know, kimchi, right? It’s delicious, and when they bring it to you in Korean restaurants it’s gone so fast that you ask for more before the server leaves. I was immensely intimidated by making it for a long, long, time because I thought that I didn’t have the right ingredients or expertise to make it properly. Well, I was right.
I don’t make it properly (or traditionally or whatever you want to call it), but I can make it. And that’s what matters. I like the stuff I make, and other people do too. Getting started, and getting over the initial hump of discouragement is usually the most important thing when it comes to fermentation. I was inspired by Sandor Katz’s Wild Fermentation, and used other fermentation books as references. But really, this is your work, and you should use what you have and treat all recipes as guidelines.
That spicy, fermented, sometimes a little sour/fizzy, punchy, kicky, umami flavor? Yes, we can do that in our kitchens, and I’ll try to explain how it might work. It takes a little work on our part, and a lot of work on the part of those tireless, hard-working bacteria that turn plant sugars into lactic acid. Here’s how we get started.
What you’ll need:
- A cabbage (preferably Napa)
- Salt (uniodized, as iodine could interfere with the fermentation process -it kills stuff)
- Garlic
- Ginger
- Onions (ideally green onions, or scallions)
- Chili (could be fresh red ones, chili flakes, chili powder~gochugaru, Sriracha, whatever you have)
- Opt: vegetables you have (I sometimes use carrots and daikon radishes)
- Opt: fish sauce (if you’re into that deep savory flavor and aren’t vegetarian)
- Opt: a little sugar
Here’s my usual process:
- Chop the (1) cabbage and your optional vegetables into roughly bite-size pieces (2” x 2”); remember, they will shrink by up to 30% when you salt them!
- Rub them with salt* , about 3T, so that each the salt disappears
- Let the stuff rest for a couple of hours, enough time to go for a jog and read a couple of chapters of your book
- Slice the garlic, ginger, and chilis (or chili paste or sauce or powder- whatever is spicy really) finely or process with a food processor. Mix with optional sugar and optional fish sauce.
- Add nice 1” slices of green onion to that pungent mixture
- Drain the cabbage (it will have accumulated a lot of water from inside the cell walls by this point) and give it a light rinse. Not too much
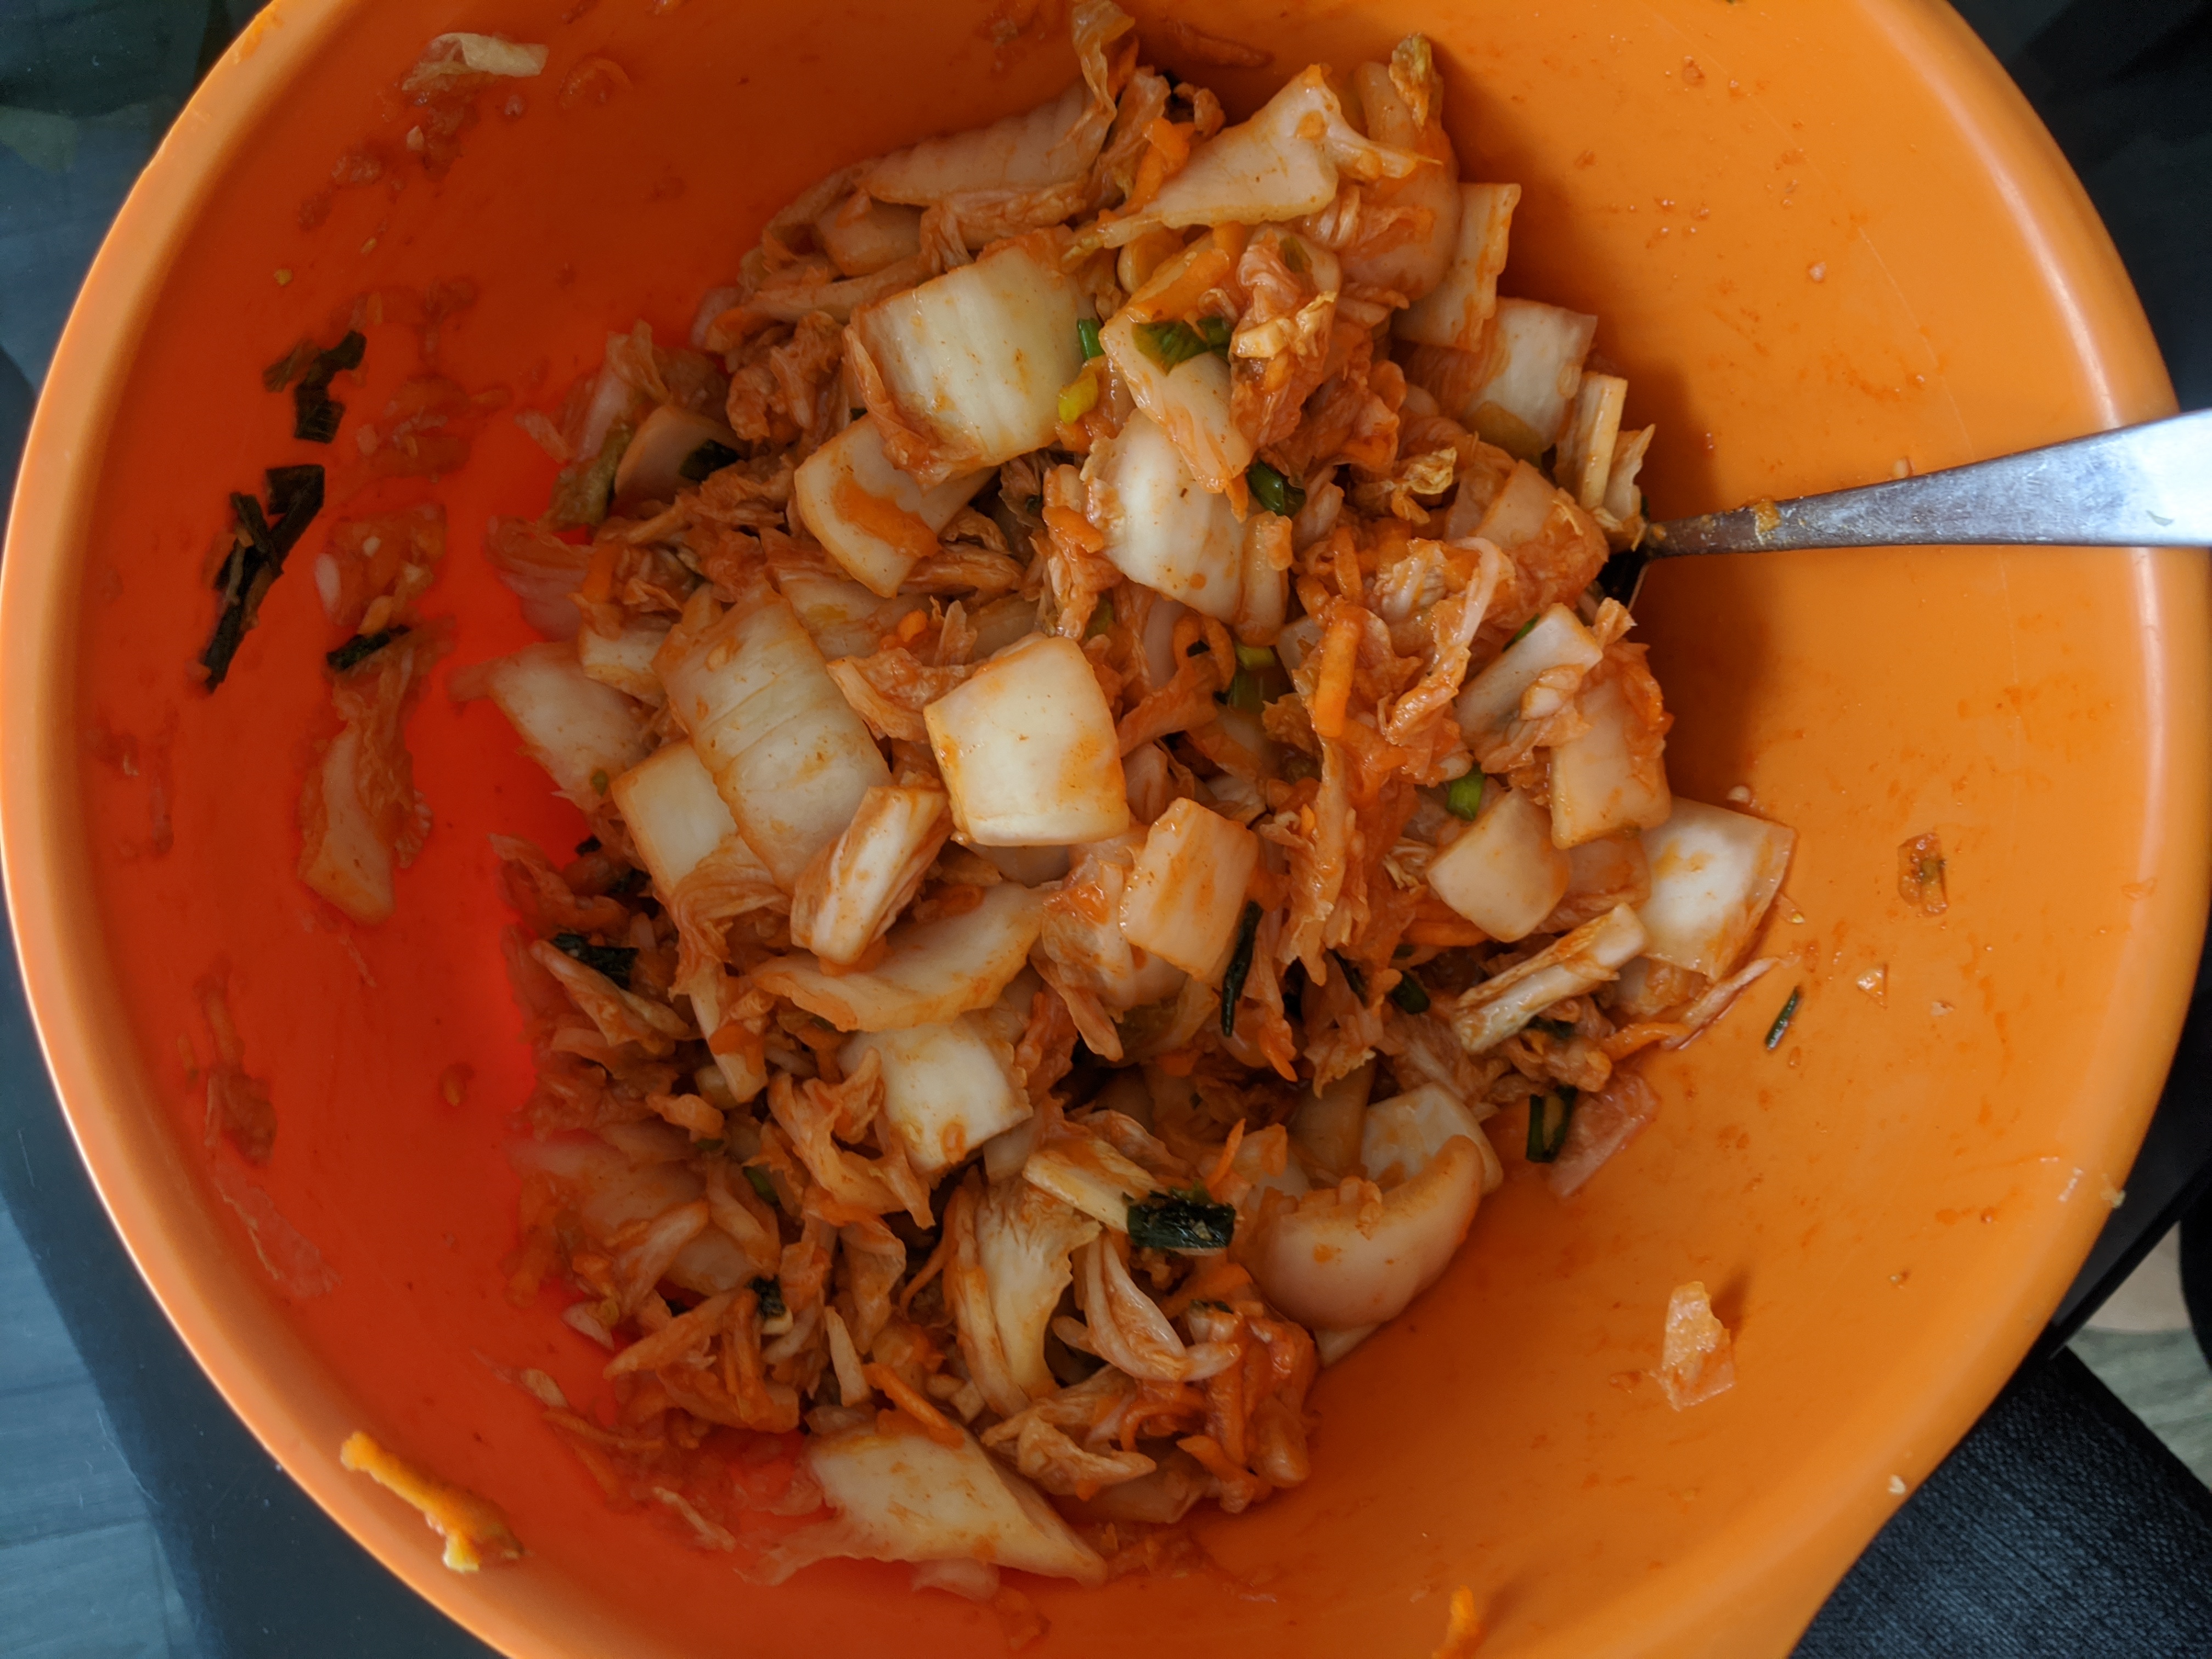
- Mix the garlic, chili, ginger mixture into the soggy wilty cabbage, and pack tightly into a container. Any container. Hopefully, there will be enough liquid to cover the cabbage, but it’s okay if it doesn’t. You can add some salty water to cover, or just leave it.
- Cover the container with a plate or a paper towel or a lid, but don’t seal it super tight.
- Let it sit on your counter, and if you did use a lid of some kind, open it up every day to release the gases. This is called “burping”
- It’s done when you think it tastes nice. I usually let it go for around 3-4 days. It is safe to eat at every point of the fermentation
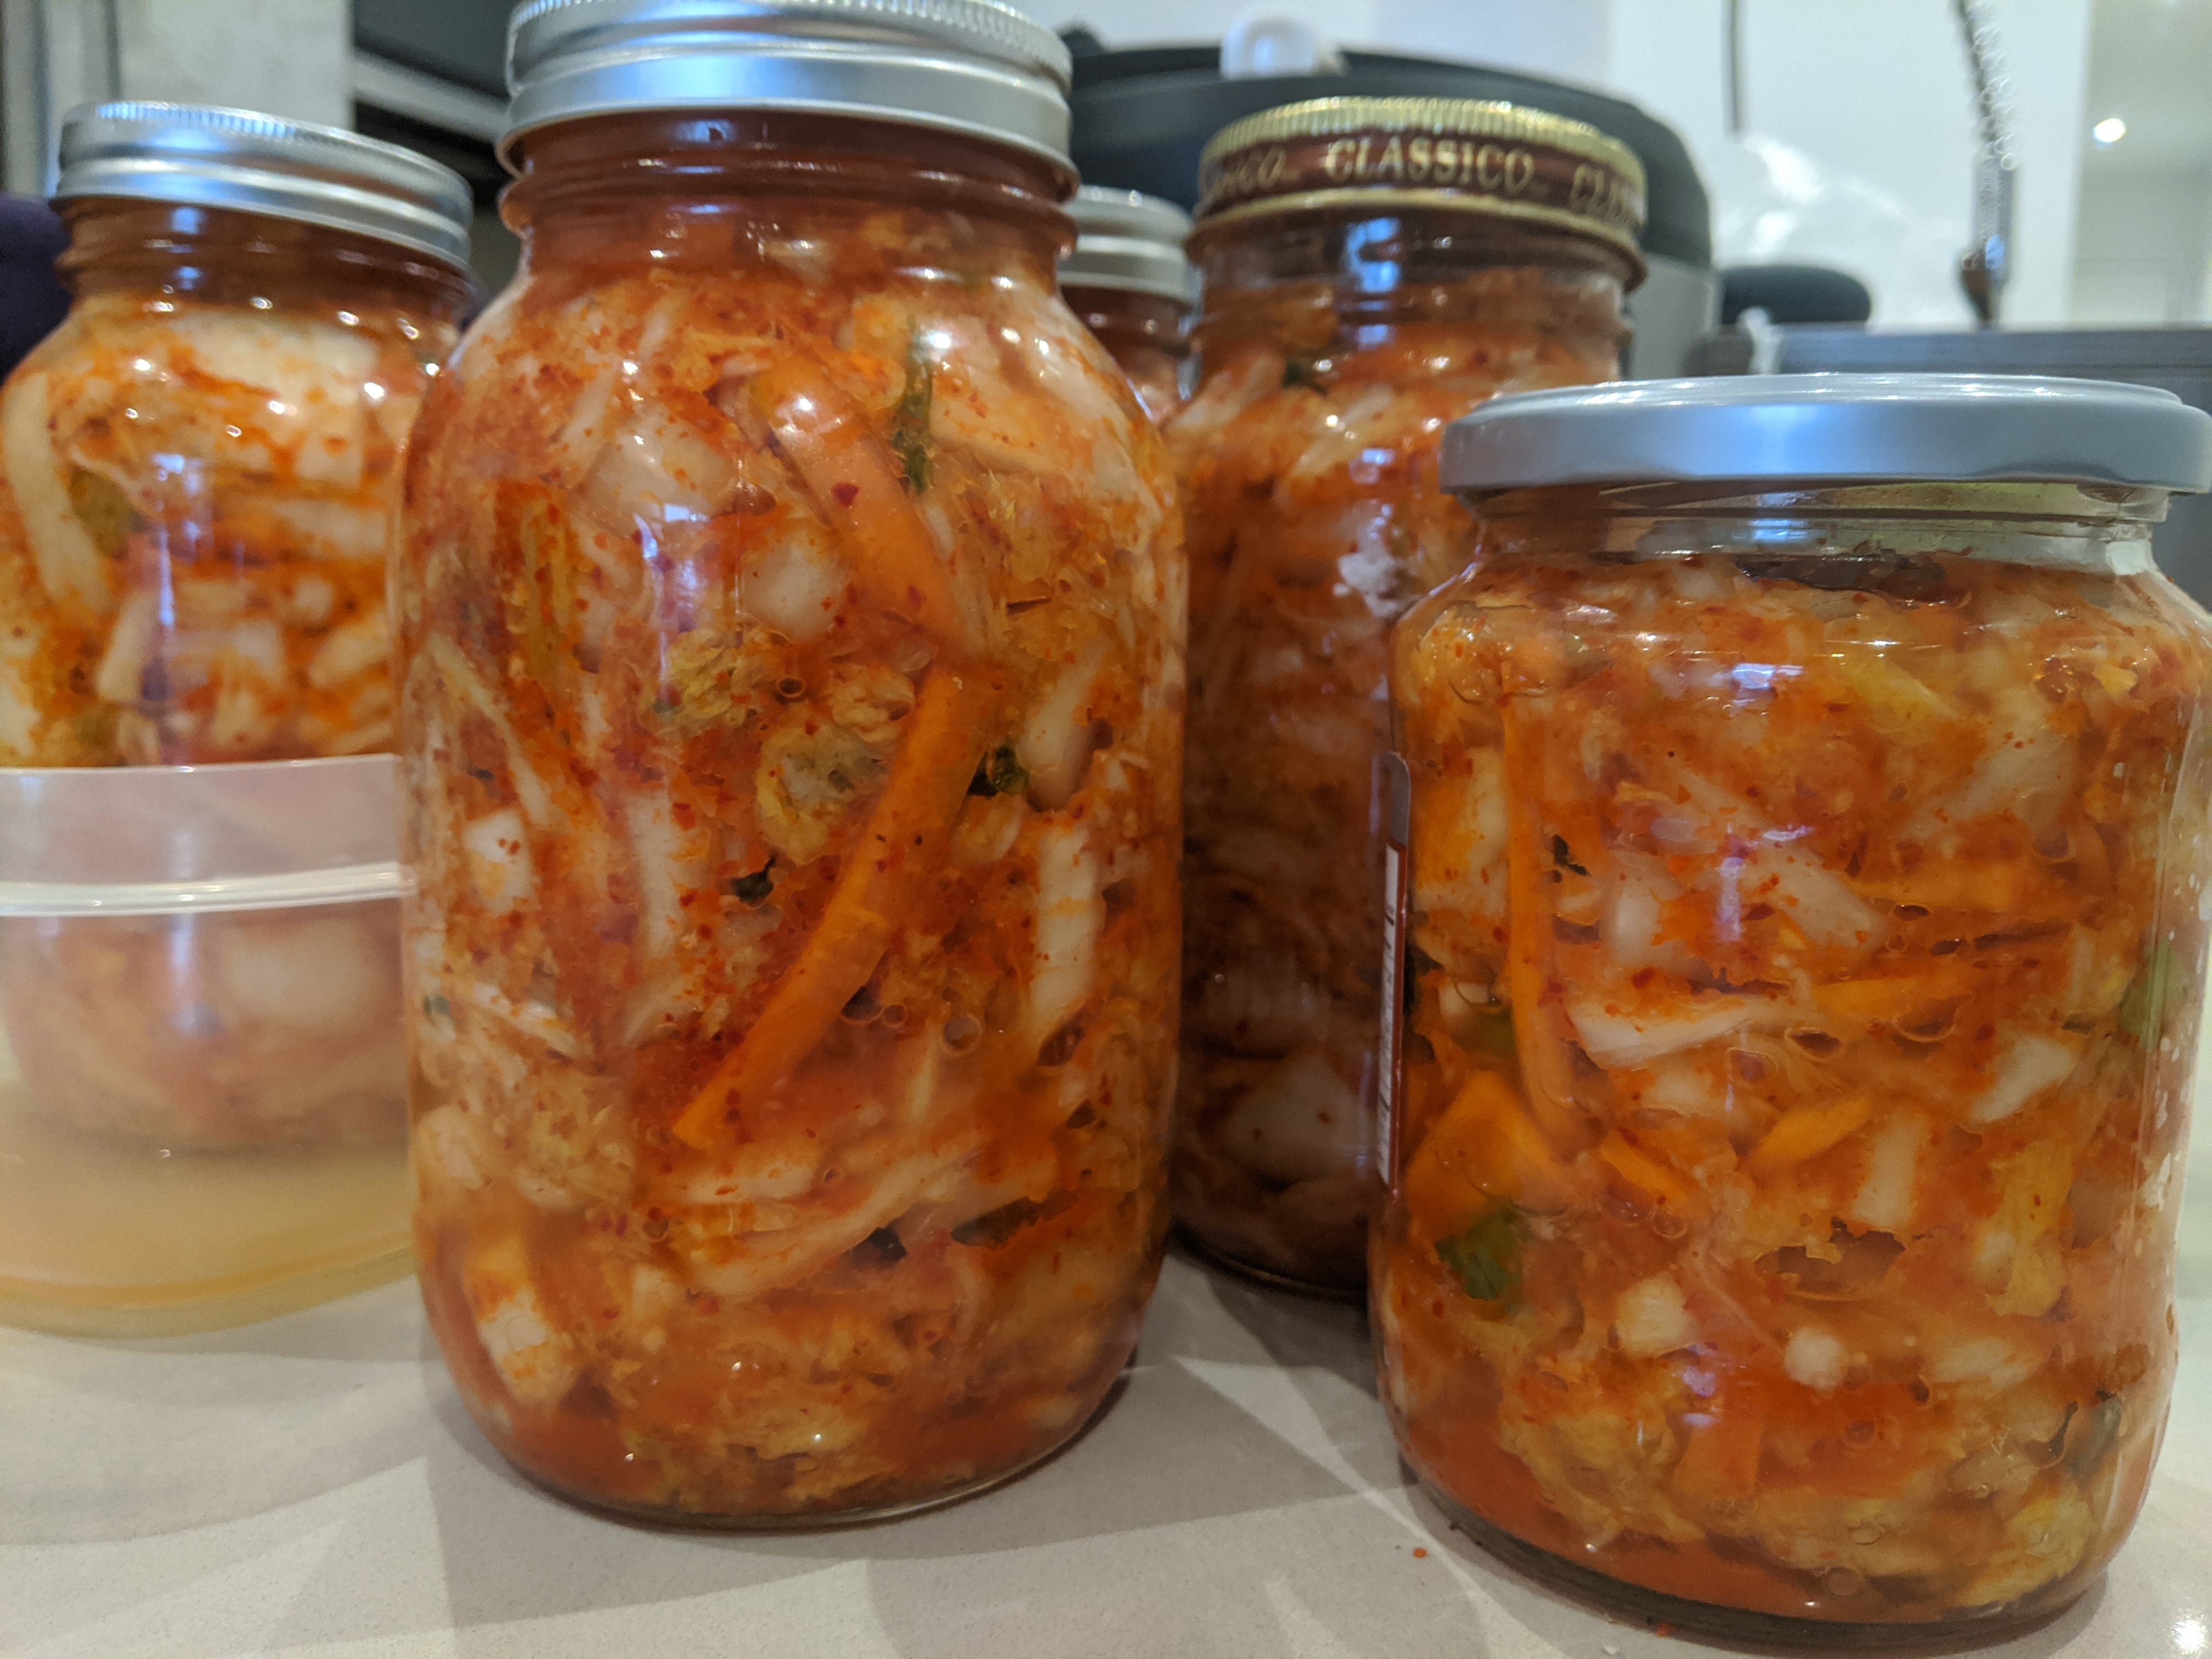
- Put it in the fridge with a lid. Seal the lid. No more burping the jar.
And that’s it. Do your own thing, and be creative with it! This kimchi, while not particularly “traditional” is tasty and healthy (as long as you don’t kill those amazing probiotic bacteria by boiling or frying or harshly cooking it) and most importantly, it’s your own. Try different vegetables, different chilis, different brining, or salting methods. Try using nice ingredients you have in your kitchen, and make sure that you share it. Good food is meant to be shared.
Notes:
- Some sources say to use a wet brine (soak the cabbage in salt-water) but this method uses less salt and wastes less water and time*
- If you see mold on it, throw it away